Today's project isn't a finished project, it is a new technique that I learnt whilst blog-hopping today. This technique which combines stamping with distressing card, came from an amazing scrapbooking blog I came across today from someone who has only been doing scrapbooking for 2 years. Her work is incredibly creative and this is the kind of scrapbooking I would like to do one day.
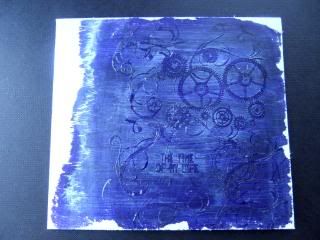
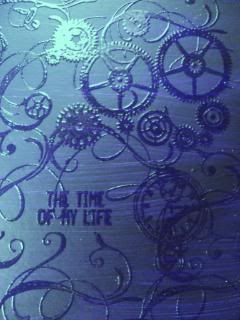
This is the blog - with a video tutorial of how to do the technique (scroll down) and this is the example I made using the technique:
Basically what you do is paint onto the card (or chipboard) with a dark coloured acrylic paint and wait for it to dry. When it is dry you stamp onto it with embossing ink and sprinkle over it with clear embossing powder, clear off the excess and heat set it. Then you paint over it all with a light coloured acrylic paint. After a few seconds, you wipe it over in circular motions with a baby wipe or damp cloth, which reveals the stamped image. I love distressing effects so I'm pleased to find another one to use. I also distressed the edges of mine too.
It could be used on a card or a scrapbooking page or simply framed as it is and put on the wall or mantlepiece. It would also look great as a background.
Thanks again to Yatie Tajudin of Malaysia, the fab blogger of 'A Scrapping we will go' (See link in My Blog List, bottom right)


0 comments:
Post a Comment