Welcome to my creative online journal

Thursday, 15 April 2010

Spring Tree Part 1 Blossom

Own up! How many projects have you got on your 'I must do this craft' list?  If you're anything like me it will be tons!  Now, out of that list, how long have these crafts been waiting for you to get started on them?  Today's project, shock horror, has been on my list for getting on for 18 years!! 

But, of course, I've been waiting for the right time to do this, and now is it!  I have also been waiting for the right materials to come along (My mother always said that I could write the book of excuses!)

Anyway, this is the project:
Well, not quite.  I didn't make the tree, its an African wall hanging we have had in our sitting room for 18 years.  It's really cleverly made, and I got it from a World Craft Fayre all those years ago.    This project, which I have been meaning to do all this time is to explore the Seasons with it.  It has always been stuck in Winter...

Until today....:
(Click pictures to enlarge)
..I've added Blossom to some of the branches. 

The project I've been rambling on about, is to show the tree throughout its various seasons with blossom, then leaves, the leaves changing colour and falling off and maybe some snow...

Thats why I mean 'this is the right time'. This year I have remembered! And I remembered at the right time of year too, the first dramatic change in a tree's life cycle.

Here is a close up of the blossom:
It's just pink tissue & crepe paper stuck on with temporary glue dots.  (I've never had 'temporary glue dots' before so could never work out what to use as I didn't want to spoil the tree with permanent changes).

Hopefully you will join me throughout the year as I make the various seasonal changes...

but meanwhile....
See you tomorrow,
qwiksave
x

Wednesday, 14 April 2010

Bag Shopping

Today, there will be no craft!  I have been crafting a little today but I have also been shopping.  I haven't been for a while because my boys have been off on their school holidays and believe me, my boys and shops don't mix!

I actually have 3 bags to show you, which in total came to less than £10!  One of them in particular is really different, as you shall see....

The first one was from Barnados and it was a handmade tote:
I was attracted to it because of the distressed look and the swirls...
..and the fact it was new and just 99p!

The second one, isn't normally my kind of thing.  I am definately not a pink girly type and I don't tend to go for patterns (As I write this, I am dressed from head to toe in black, as usual!) but I have been faithfully reading the wonderful print&pattern blog and that may well have had some influence....:
 
It also has 2 pockets! I heart pockets!
Close up of the, ahem, pattern.
This was again new, from Oxfam costing the princely sum of £4.99!

This last one, which is actually the size of a small suitcase seems to be entirely handmade!:
As you can see, its transparent so I will have to be careful what I put in it, but its really different.
That was the one side...
..and this is the other.  Its got amazing handmade details on it:
All this is stitching and handpainted dots.  It has loose sequins trapped in the transparent material that move around with the bag:
Must have taken ages to make! I wonder what the story was behind it?
The only thing I wasn't completely impressed with were the handles:
They were just ribbon! Not very strong, but I could easily change them, or only put light things in the bag.
This bag came from the RSPCA charity shop and was just £2.50.

Now I've got lots more bags to take with me next time I go! :-) 

See you tomorrow,
qwiksave
x
Tuesday, 13 April 2010

Unscientific Product Road Test

Today I've been doing a few bits and pieces of crafts, but none that I was happy enough to show you so I have rapidly done a road test of a product that I would like to recommend.

Up to now, I haven't ventured into the world of colouring with markers like the fab Copics and Promarkers that almost every crafter I know has, but I would like to.  I love seeing some of these stamped characters all coloured in with beautiful shading showing lovely rosy cheeks and rounded features with carefully coloured in shading.

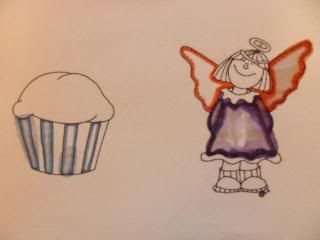
You can also get water based promarkers, and I have got a few which I have had for yonks and never used.  One of the reasons I haven't used them is if you use them with water on inkjet printouts they bleed and make a mess.  This was the subject of my roadtest:

SIMPLE INKJET PRINT BEFORE I ADDED PRODUCT:


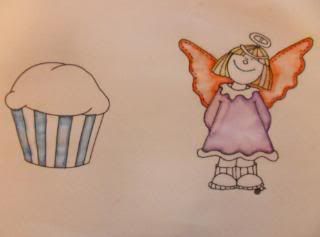
AND AFTER:
(Both were done in the same way, with an outline drawn with the waterbased aqua promarker around the edge - which was given chance to dry -  and then the water brush was used to blend.  The top one wouldn't blend, which is why its not completed.)


...AND THE PRODUCT I RECOMMEND:
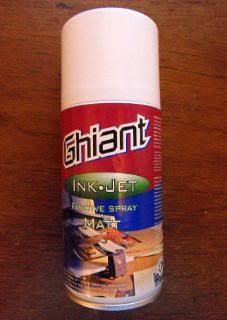
GHIANT INK JET FIXATIVE SPRAY!

Sorry, for the quality of these test pictures, I was running short of time to put this on.  The results would have also been better if I hadn't rushed!

This spray is not cheap, mine costs £8.25, but I'm sure it will be very useful.

(Images were photographed when still wet)

Sorry for the advertising nature of this post, but its useful for us crafters to let others know what works for us. Have you got any wonder crafting products you would recommend?  

See you tomorrow,
qwiksave
x
Monday, 12 April 2010

Passport Photo Fun!

I've been very brave with my project today!  Today you will see a side of me you will never have seen (or see again!) and some of its a bit scary! 

Here it is (brace yourselves!) :-) Ta, da!:


Now stop sniggering at the back! (I know those shots at top right make me look as though I should have a number written across the bottom!)    This project, which was for my own amusement really (but I'm willing to share) was created by using lots of old passport photos (mainly, the middle one bottom certainly wasn't!) and a very old transparency of haircuts that you slot your picture behind to see what suits you.  I think I've had it since the 1980's (check out those groovy hair styles) and it was a freebie from a hairstyling magazine. 


...And when I've finished making a fool of myself?

KABOOM!!

(My subscription to Picnik is worth its weight in gold!)

See you tomorrow!

qwiksave
x

Sunday, 11 April 2010

Shrink Plastic and UTEE

I challenged my comfort zone today and had a go at another something new.  I say 'something new' it was another technique from that 'very old' (year 2000) book written by Suze Weinberg.  You may remember a short while back I tried the spritzing the metallic pen technique, which didn't work terribly well...but moving swiftly on!

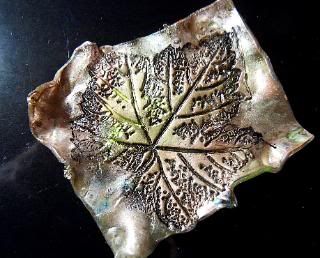
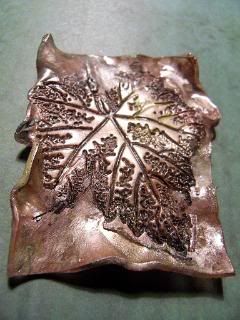
Today's technique was using UTTE onto Shrink Plastic and stamping:
I 'challenged' myself because I've always been a bit nervous of Shrink Plastic - it shrivels up and threatens not to unbend itself when its shrinks.  It did do that today but I was very brave and let it do its own thing, before flattening it with an acrylic block! 
This technique was slightly different to the normal shrink plasticing - in that you stamp your image after it has shrunk, so your stamped image stays the same size.
...and BEFORE you shrink the plastic, you ink it up with your ink pad (not Pigment Ink), and cover it with UTEE.  Then you heat it and then you stamp it.  Leave the stamp on the plastic to cool.

I used a dye multi-coloured metallic ink pad to ink the plastic sheet but the colours haven't shown up as much as I'd like.  I would be tempted to add more colours now, maybe with alcoholic inks or rub-on metallic paste.

My two boys go back to school tomorrow and the weather forecast is for SNOW in our area!  Shock horror!  We were sunbathing yesterday!

qwiksave
x

Saturday, 10 April 2010

Pre-Journalling & Coloured Nightlight Jars

I've been extra creative today, not only have I got one project to show you today, but two!  For the first project, I had another go at doing a 'pre-journalling' page:


To make this (its 1 page), I used various thicknesses of white paint markers to make random spirals and then also did one in silver. Then I coloured over the top and in the area around them with coloured markers - just using ordinary thick felt tips, the water soluble type. I've never looked at journals properly so wasn't sure quite what or even how people write in them so I just started writing random things inside and around the spirals with a black Sharpie pen (I think in a proper journal, you're meant to write about your feelings!) On the black colouring pen part I used white, silver and gold gel pens.  I really enjoyed doing this exercise, and could definately see me doing this in a journal for real.

My second project today was some coloured glass candle jars. I saw them on this blog yesterday and fancied making some.

First of all I frosted the glass jars using an acrylic frosting medium on a soft sponge:
I then added food colourings to an outdoor Mod Podge:

I made several colours. Here I've popped a nightlight in and the room lights are on:


..and then the room lights were switched off:


I think I prefer the 'room lights are on' effect but I'm sure they'll all look great outside and when I take them camping with us later on in the year.  Thanks to the original blogger for the idea.

Enjoy the rest of your weekend and I'll see you tomorrow!

qwiksave
x

Friday, 9 April 2010

Mini Celebration!

Woohoo! I've got 50 followers!  I would like to say thanks to each and every one of you (oh, get on with it!) for joining me on my 2010 journey of creativity (and for those of you that just pop in from time to time, you are most welcome too!)

I know other bloggers offer milestone blog candy but I'm not really in a position to do that so I have chosen something different to offer you, something for everyone that has popped in today, should you want it.

What I have are 3 images taken from a book.  This book, which some of you may have read or maybe just seen, is called :59 SECONDS by Professor Richard Wiseman * and in it there is a section on Creativity and ways in which you can be more creative.

At the end of the section on Creativity, the author has given us some creative patterns which you can use..
"to help produce original ideas. They can be turned into examples of modern art and used to adorn the walls of boardrooms and meeting spaces.  Alternatively, they can be loaded on computers as wallpaper or even used as subtle background designs on the pads people use to scribble their ideas."

These are the three designs, copy them if you like (right click and save to your own computer), and maybe they will help with your own artistic creativity:
(I haven't tried them out myself yet, these have simply been scanned from the book, but do let me know if you find them helpful!)

On to today and what I did for my project today was to make a bookmark out of that background that I made a couple of days ago.  The background was made using Spray Starch, Irridescent Acrylic Paints and Pearl X.  It did look really different when it dried, but I love it!:
  
(Click on images to enlarge view)
Here's the close up:
I think it makes an interestingly creative bookmark!

And finally for today, we've had another enjoyable day with the sunshine in the garden and I took these pictures:

Don't you just love Spring?!

(*£2.99 from The Works)

See you tomorrow!
qwiksave
x

Thursday, 8 April 2010

Practice Journal

Something else I've fancied doing (as if I haven't got enough on the go!) is to make an artistic journal.  I absolutely LOVE the journals created by Dina Wakley (another one with a great blog) and it would really appeal to me to do something along those same lines. 

Today I've spent a lot of the day in the garden. It's finally been sunny enough here for me to venture out with the boys (all the messy details to follow) so I didn't get a lot of crafting done today.  Not that I've been doing any gardening, I've just been clearing up all the assorted plastic toys and gubbins that little boys leave around.  My husband usually mows the lawn and weeds the path  but with him being away, I fear I may end up having to do it myself!  (Wonder where the lawn mower is? lol)

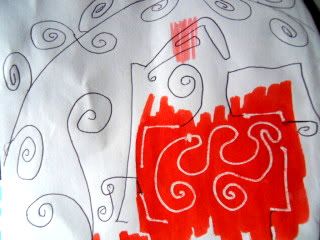
Quick craft done today, not even finished, was a doodle. A 'pre-starting-a-journal' page:
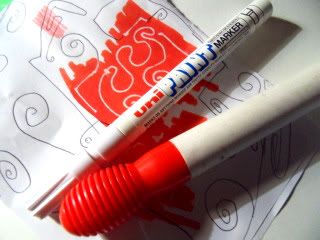
I love the effect of resist - this was red felt tip on top of a white paint marker:
(with some drawn pencil lines)

That resist effect could look interesting as a background on a journal page, maybe I could try different colours?

WARNING: Messy, dirty photos below! :-O

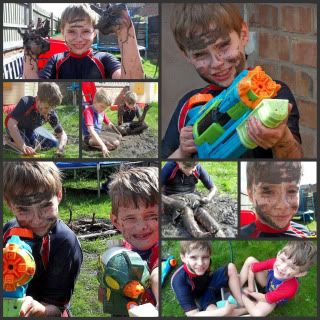
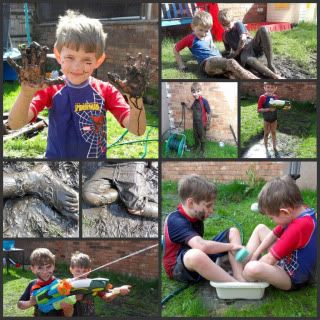
THIS was my boys having fun today!:
What is it about boys that means they just can't resist Mud and Water?! (I remained mostly unscathed! :-)  )

See you tomorrow!

qwiksave
x

Wednesday, 7 April 2010

To Scrapbook...or not?

I got myself the new Scrapbook Inspirations Ideas Book/Magazine yesterday (using my 10% off voucher from WHSmiths) and I've been looking online at loads of scrapbooking sites and blogs and it has really inspired me to seriously have a go at documenting my life for my children.  I am, (ahem), no longer a Spring Chicken and I really would like my two boys to know what life was like for me when I was a child and  to let them know about the life I have led. 

I also want them to know about my parents, of whom they never really knew as both of them are sadly no longer with us.  I have told my boys elements of all kinds of things, (because they think I lived at the time of the dinosaurs!) but it would be so much better to have it all documented for them.  It is something I would have loved to have of my parents - what life was like in the wartime and the 1940's and 1950's for them.

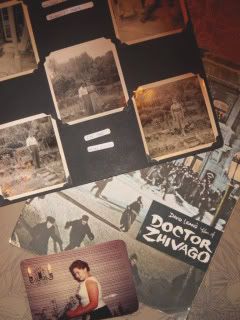
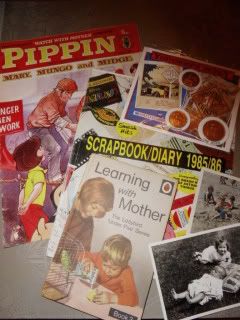
I am only at the stage of sorting through loads of boxes and piles of photos, writings and assorted paraphernalia so all I can show you today are bits and pieces of things I have found whilst sorting:


I am also a bit nervous about starting the actual pages. I have seen very minimal pages which I like, but I also like the 'really busy' embellishment filled pages too!  And journalling - you want to tell the story but could  it crowd the page too much?  Also, what type of paper do I use? I am working towards getting Retro pages (in fact I've ordered some of the new Tim Holtz -Woo!)  for my history, but I also rather like the idea of painting my own.  Embellishments too. I consider myself to be something of an artist so almost begrudge the idea of paying for someone else's 'stuff' - but then again, printed stuff looks so much more professional.... (and lets face it there's some great stuff out there!) 

Sorry to ramble, it just helps me to get it down on paper screen!  I really need to stop procrastinating and just get on with it!

qwiksave
x

Tuesday, 6 April 2010

Painting with Fairy Dust

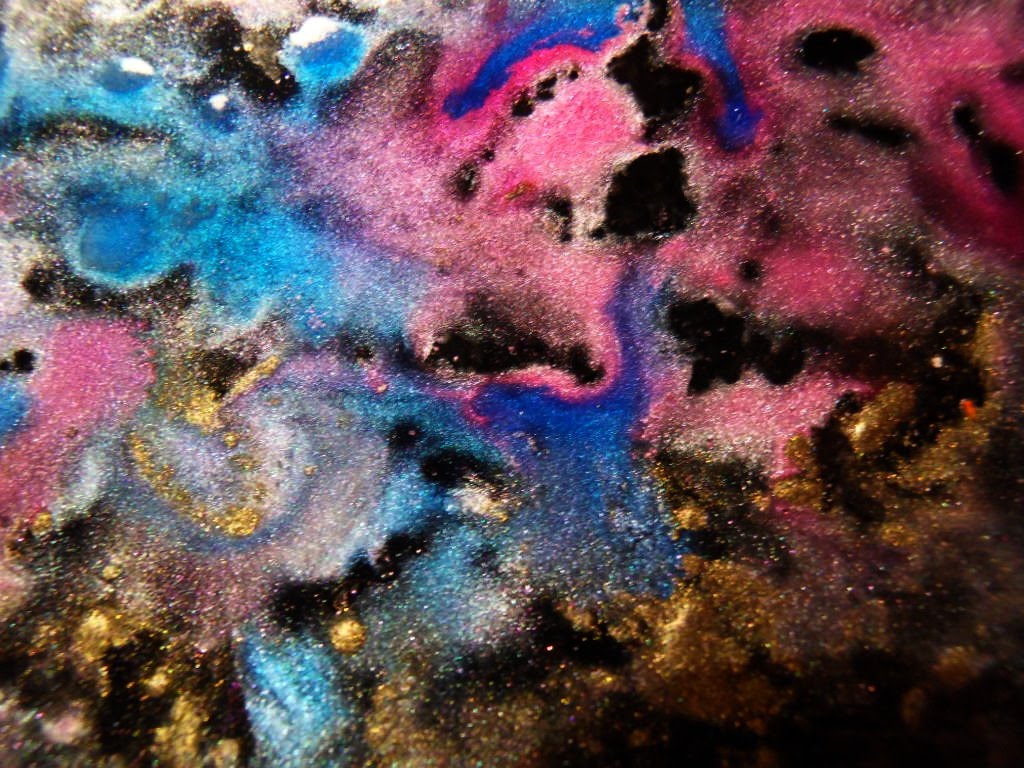
Whilst browsing on my Facebook recently, I spotted an arty post some mixed media artists were speaking to each other about.  They were raving about this new technique they had discovered, using Spray Starch and watercolour mediums.  I investigated further and found a blog with this lovely technique on it, and of course I had to have a go!  I managed to purchase some Spray Starch (which you are meant to use for ironing! - pah!) in Robert Dyas. I used irridescent acrylic paints & Pearl X Mediums scattered onto glossy black card that had been sprayed with the Starch. The starch was also sprayed on top of the paint and mediums.
I have done this craft really late so again, its not dry, but all that pink and blue is pure glittery shimmer! It looks great whilst its wet and I'm sure it will look dazzling when it dries.
Here's a close up view where you can kind of see the glitter.
(Click images to enlarge)
This was a second one I did, a 'work in progress' shot, brushing all that 'fairy dust' around.   Technical note: DON'T brush it all around, (even though its fun!) the colours are best kept separated!

Think I will use these either as a background for some altered art or maybe as bookmarks.

WARNING: Photos of squirmy, slimy things coming up! :-O

My husband has gone back to China so its up to me to entertain the boys again, even if their interests might be the squirmy, slimy, dirty things discovered in the garden!:
(Can you please get it to munch all those weeds on the garden path?)

See you tomorrow,

qwiksave
Related Posts with Thumbnails