Welcome to my creative online journal

Monday, 8 February 2010

Picnik photos

Today's post I think is artistically interesting but it may not be craftisticly (think thats my very own word!) interesting! 

I've been having a play on the super duper (in MY opinion) online photo editing program, Picnik  (which regular readers will know about).  I don't work for them (or get any commission -Bah!) but I just love using the site to alter my photos.  In fact I want to go back and alter ALL of them, all billion (approximately) I have in my loft and on my computer.

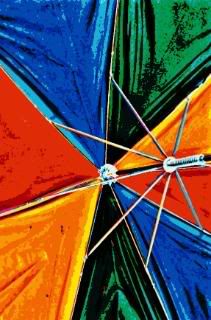
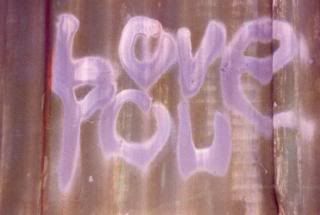
So, I scanned some interesting old photos in and for your entertainment, have given you some Before and
After shots:

 
BEFORE
 
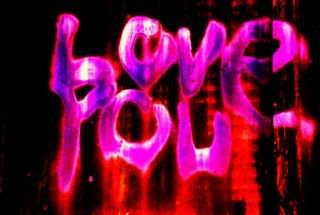
and AFTER:
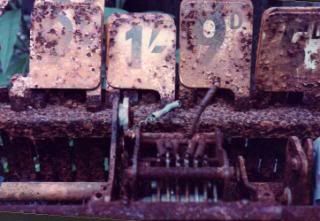
and finally BEFORE
..and AFTER
 
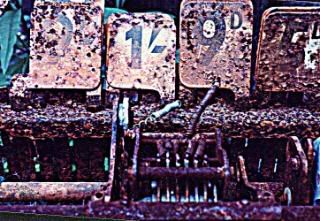
The last one is my fave, all that crumbly, rusting texture.  I , of course, don't remember old money (nose grows a bit) and nor do you, do you? 

Sunday, 7 February 2010

Snow Scrapbooking Page

This is what I've done today:

I started to make the background for this snow scene and in the book I was following it said to use silver card and cover it with transparent acrylic gel medium.  I was going to do that but found out that the gel medium that I had wasn't transparent, it was white.  I could have used that but thought they must have used the transparent stuff for a good reason so went in search for a substitute.  I vaguely remember someone using 'Klear' Floor Cleaner for something arty (wish I could remember what!) so I hunted under the kitchen sink and dug it out.  I wiped it over the silver card and then added liquid acrylic in pearlescent blue and white. I added more Klear over the top and then swept over it with a comb and added glitter.  It was very wet at this stage so I thought I'll never get it dry to finish my project today so heated it with my heat gun. It made a lovely effect, all bubbled up, hope it wasn't a dangerous thing to do!

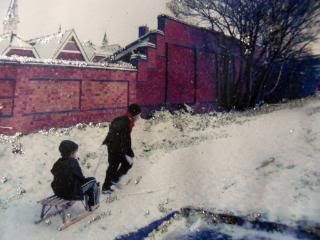
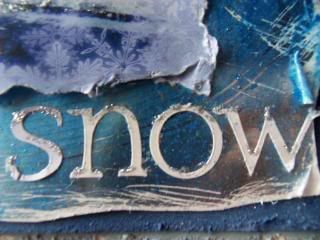
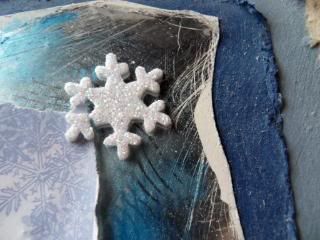
I then added some lovely silvery wool I've got to one of my glittery snowflake stickers and put it in the top corner.  I printed out the picture of my boys sledging in the snow next to their school and ripped it all round the edges.  I used the Cuttlebug to cut out the letters of the word 'Snow' for the bottom corner and added more glitter snowflakes all around.  After gluing it all down I added glitter to the picture and words and  tiny silver gems to the large snowflake. I then finally distressed the whole thing with white Stazon. The next day I decided that the Stazon distressing effect wasn't enough so I attacked it with coarse sandpaper, scissors and careless abandon!  :-)

Further pictures showing details:


Oooh, lovely, lovely textures!

Saturday, 6 February 2010

Memory Lamp Box

Today's activity has been the hardest I've done, I've been getting through a box of tissues whilst doing it.  Didn't realise it would be quite as hard (emotionally) as it turned out to be.

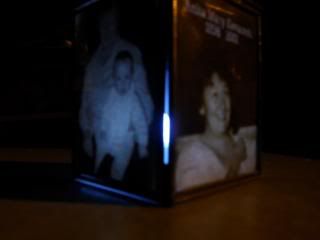
I apologise for the bottom photo but it had to be taken in the dark and my camera doesn't like the dark!

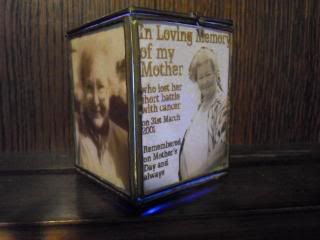
It is a glass memory light box:
(showing two sides of 4)

I know this is a very personal thing, and its a bit difficult to show such a personal item, but I thought there are other people that might like to do the same thing for their lost relatives.

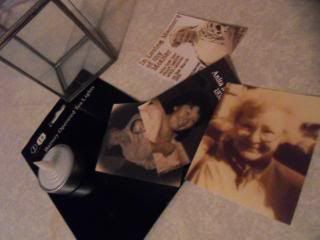
To make it, I used a 3" x 2"glass box with a hinged lid (this one was a charity shop find but its a bit mishapen, a bit of light escapes out the sides!), a BATTERY operated nightlight (VERY important!) - I got 4 for £4.99 with spare batteries from Cargo - pictures, all sepia toned, some with added text and Spray Vellum Glue (not shown).

All you do, once you've prepared all your photos the right size, is to spray the vellum glue (recommended, it doesn't show) on each of the pictures and stick them onto the inside of the glass.  Pop in a nightlight through the lid and you're done.

This is the other side:
(Apologies for this picture, and the light gap doesn't look as dramatic as this, the camera picked it up!)

The original idea for this was on Martha Stewart's site,  Link HERE, She suggested using vellum which I tried but my printer REFUSED to print on it.  I used ordinary thin photo paper and it still worked. 

If you do make one, do make sure you've got a box of tissues handy!


qwiksave x


PS  Oh, I forgot to mention, you don't have to make it a Memory box, you could put celebration pictures  in it instead!

Friday, 5 February 2010

Aaaah Monsters!
Hi to all my followers and viewers old and new and thank you for dropping in.

With the weekend on its way, I thought I would put on an easy craft that children (or the young-at-heart) can make.

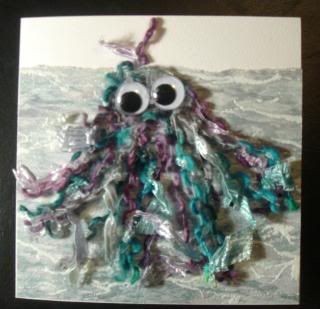
Here they are:

After doing the colourful combinations (opposite colours on the colour circle work well), I made a jellyfish type for Ryan because he's fascinated with them:

They are SO simple to make but can be messy, watch that glue it can get EVERYWHERE!

All you do is make a colourful background by matting and layering coloured paper.  You then get a ball of wool and cut it depending on how you want your monster to look.  Stick just the top of his 'head' to the background, letting his hair fall freely. Stick more layers on top, if necessary. Also give it a 'haircut' in places if you need to. Finally, stick on your googly eyes and when its dry, jiggle the card to woggle the eyes and hair. Maybe give it a different hairstyle...?  Then let the real kids have a turn, he,he...

Thursday, 4 February 2010

Glitter Tattoo Tags

I have done an extra craft tonight,  because I felt my other one wasn't very craft-like!

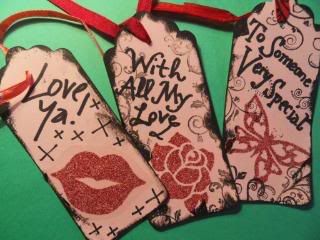
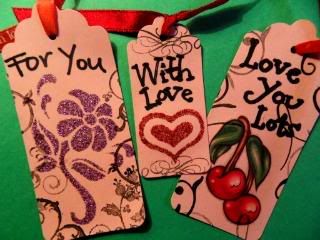
This one is another for Valentines Day or just for any romantic occasion!  Gift tags!:
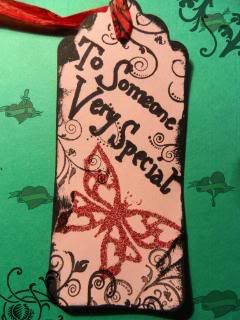
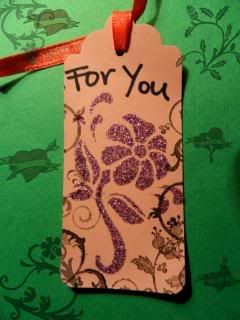
These are made using Glitter Temporary Tattoos
The tattoos are really glittery and you put them on the same as you do when putting them on skin. Take the plastic off the glittered design and soak the backing paper for 30 seconds. Lift off the backing and the transfer sticks itself to the tag! (or wherever you choose).

These particular transfers were part of a new range in 'Claires' accessory shop.  They had lots of different themed packets but they all seem to be 'child friendly' designs.  £3.50 for over 35 tattoos.

EDIT:  This post was changed today.  I thought the tags needed to be a bit more modern and reflect the nature of the tattoos, so I added my flourish stamps and some distressing. 

I must admit I'm not keen on real tattoos but am impressed with the artwork that goes into them.  I noticed that WHSmiths has a selection of  magazines completely dedicated to some amazing tattoo designs. 

Tricky Piccy

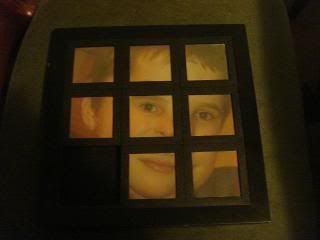
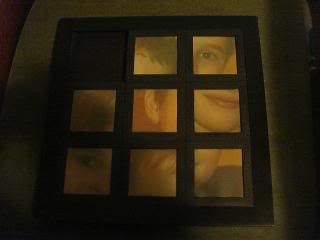
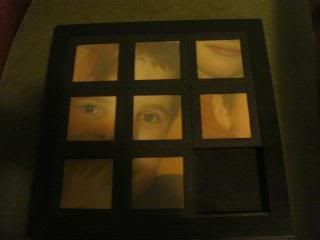
This is today's craft:
and no, its not just a strange picture, its one of those games where you jiggle all the pieces around....
...and try and get them back into the original picture...
no, that's not right!...
...or that!
Here, let me have a try!:
Oh!  Its harder than it looks!

The 'game' was shop bought (charity shop) but had never been used.  It was quite tricky to make this, there were loads of screws on the back that had to be undone to put your own pics in. (Not to mention the resizing the photo in the first place and cutting it to pieces).

It's a fun thing for the boys though and I'm pleased to say I got it back to normal, before the boys went off to dreamland.

Wednesday, 3 February 2010

Baby grow

Nobody able to date the London photos then?  Aww!  Any wild guesses? 1930's? 40's? ...

I'm running late tonight, my husband called from China and was talking to me for ages on Skype!  I daren't cut him off, they are 8 hours in front of us and its quite difficult to synchronise a time when one of us isn't sleeping!

(If you caught this post earlier, I apologise, I really didn't like that box I made, so OFF it went!)

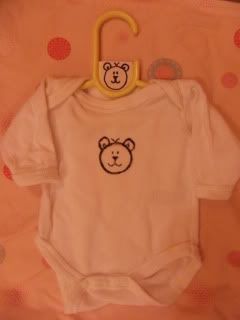
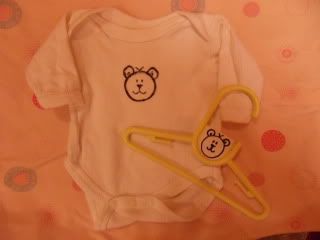
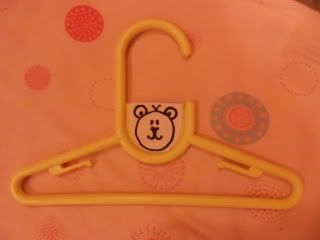
Instead, I've done a simple little cute line drawing of a bear on a babygrow together with a matching coat hanger:


The idea to decorate children's coat hangers came from Martha Stewarts book.  Her designs were in colour though, maybe later on I will decide to colour mine in too.

Olde London Town

Thought I'd do an extra post tonight, (well, its morning now),as I'm not feeling particularly sleepy.  I must admit most nights I go to bed thinking about crafting, which can make it a bit difficult to get to sleep.  I've been waiting for the elusive crafting 'eureka' moment, but it has so far managed to escape me.

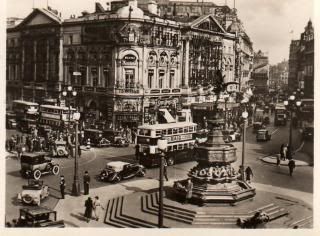
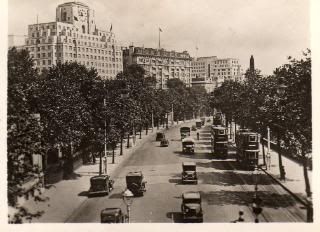
Anyway, this post isn't about a craft I've done, its about a purchase I made recently.  It was another one of my charity shop bargains (no, don't groan!) .  It was a tiny set of 'Real Photo's of London', taken a long while ago and it was only 50p! (Gasp!) for 12.  I have scanned a couple of them in and you can see much more detail than when they were small. 

This is the first one of Piccadily Circus:
(Oops, its chopped the top off)

Can you spot the man (right hand side of the lampost) with his hands behind his back? Did people really walk like that?

and this is the photo of the 'Thames Embankment':
Aren't they great?  I love looking at old things.  I love vintage stuff too, I'd like to do some crafting with vintage materials. (Brain goes into overdrive...)

Meanwhile, hope you didn't mind this extra post,and getting back to the photos, has anybody any idea what date these might be from?  The original photos themselves aren't dated. Curious, thats all.   Please let me know using the comments form.   Thanks.

Tuesday, 2 February 2010

Mother's Day Card

First of all thank you to all my new viewers and followers, it's lovely to have so many new people!  You may have noticed that my post is very late, this is normal for me, my usual routine is to get the boys off to bed first (with a nightly reading of a story) and then panic about what craft I'm going to make for my blog! :-)

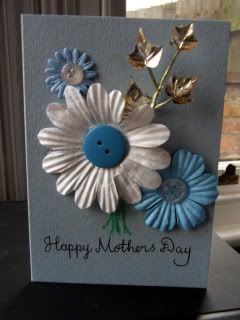
Here is the result of tonight's panic:

Now, I don't want you panicing, Mother's day this year is on March 14th, apparently.  Lots of time left to panic!

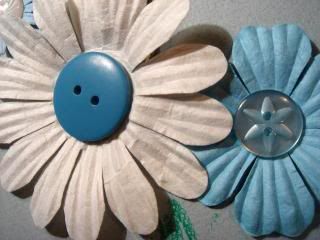
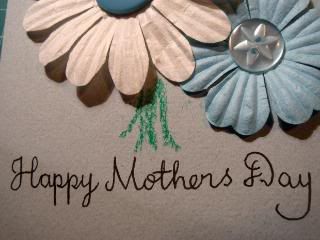
This particular card, which is another trial (I do like my trials, but I need to do them nice and early) was inspired by a project in my latest library book, 'Martha Stewart's Encyclopaedia of Crafts'.  She has done a project very like this, except she used lots of punched flowers and leaves.  I have used a few paper flowers and of course, buttons for the centres.  The gold ivy leaves were some I got in a cardmaking kit a while back.   The lettering has been copied from Martha's card, I love the style.

Close ups:
 

I think if I do decide to do this card I won't bother putting the green stalks in, they don't really work.  I would think that my mother-in-law would like the card itself though, she loves flowers and gardening.

Monday, 1 February 2010

Valentine's Trial Run!

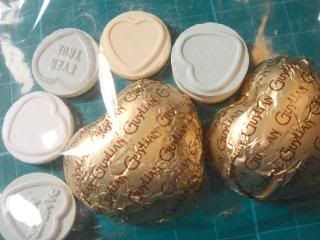
I've never made one of these treat bags before but often see them on other people's blogs and I quite fancied a go. 

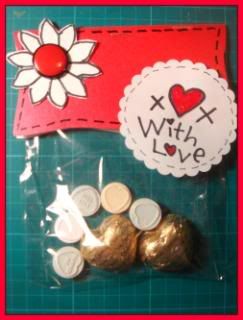
This was my trial bag:


I say 'trial' because I need to check its all going to work for my proper one!  lol  (trying also means I get to rip it all open and scoff the contents!) 

It's a bit of a poor man's treat bag because I haven't got a die cut for the header so I had to  draw and cut aroud this:
It was a charity shop frame bought specifically so I could draw around its outisde edge!

I hand drew all the stitching and lettering on the labels and flower and stuck a red button (shank removed) onto the centre of the flower. Wonderful Glossy Accents were added to the hearts.

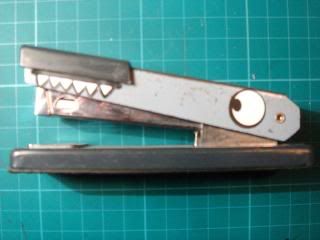
Finally, I used a bag sealer to keep the contents fresh and used my stapler to add the bag to the label:

SNAAAP!!!
Related Posts with Thumbnails