Welcome to my creative online journal

Showing posts with label frames. Show all posts

Wednesday, 5 May 2010

Ribbon Display

By popular request (don't say I don't listen to your comments!) I have finished the ribbon display piece I started to make yesterday:

This was far more tricky to make than the button frame!  Little tip if you do make this, only cut the line as wide as the ribbon is, because those blank squares in the middle can fall out!

(I also need to flatten some of those ribbons when I find my glue dots)

So the two displays together look like this:


Really pleased with how they've turned out.  Not only are they atttractive to look at, they are practical too - now I know which buttons and ribbons I've got in my stash now! 

Thanks to the original blogger for the idea and design.
(See yesterday's post for link and instructions)

See you tomorrow,
qwiksave

Thursday, 4 February 2010

Tricky Piccy

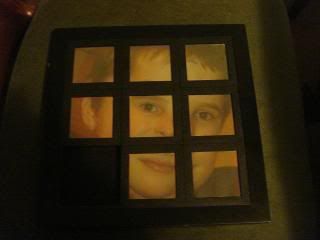
This is today's craft:
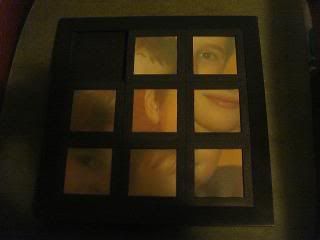
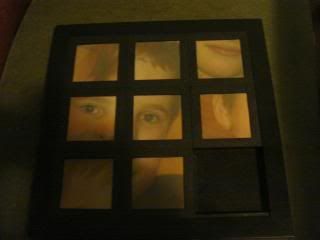
and no, its not just a strange picture, its one of those games where you jiggle all the pieces around....
...and try and get them back into the original picture...
no, that's not right!...
...or that!
Here, let me have a try!:
Oh!  Its harder than it looks!

The 'game' was shop bought (charity shop) but had never been used.  It was quite tricky to make this, there were loads of screws on the back that had to be undone to put your own pics in. (Not to mention the resizing the photo in the first place and cutting it to pieces).

It's a fun thing for the boys though and I'm pleased to say I got it back to normal, before the boys went off to dreamland.

Wednesday, 27 January 2010

Transparent Frames for Valentine

Phew!  My hands have been aching today because I have been manipulating wire around some frames with the wrong tool!  Don't laugh but what I grabbed from my husbands tool collection in the cellar were some secateurs rather than pliers - and wondered why I was having such difficulties.  (One of those infamous blond moments without being blond!)  Doh!  I did realise when I'd all but finished...

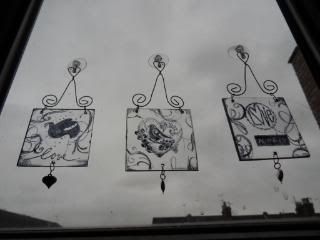
I was making these:

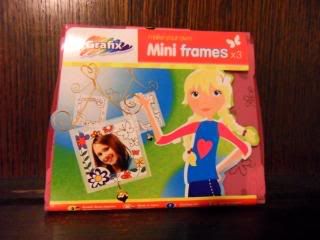
They were another of those cheapy craft sets from the local pound shop made by Grafix. These were called 'Make your own Mini frames':


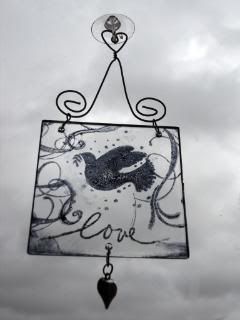
They provide plastic squares (which you stick your photo onto the back of, not inside), the heart wire frames and some mini heart embellishments. (They also gave you some paper frames to colour in and some crayons, but I didn't bother with them).  There were also some small bits of wire to hang all the bits together, which you twist into shape.  I have to tell you I could never be a jewellery maker, I took AGES trying to put these rings on, but that may well have been because of trying to use the wrong tool.

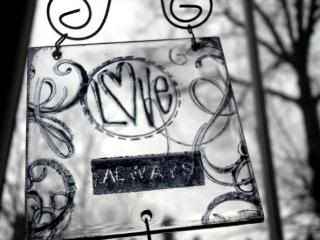
The suggestion is to display photos on them, which I did consider, but thought I'd make the most of the fact that they were transparent so would look nice as a window decoration.   Which lead me onto rubber stamping...  I'd got the bird stamps free with 'Craft Stamper' magazine a while ago and had never used them, so here was my chance.  I added some Clear Impressions Love stamps to go with them and my favourite, some swirly flourishes. I used Stazon ink as it stamps quite well onto plastic.


To put them on the window I have got some rubber sucker hooks which are great for lightweight materials.  I first spotted them in shop window displays around Christmas, they were used to stick baubles onto the windows.  I was rather pleased when I noticed my local docrafts shop stocking them and so now I can stick all manner of things (lightweight) on to my windows!:

You could also hang these up or simply pin them to a wall or noticeboard - and change the colour of the background if you wish.  Or maybe  you could give one -or all of them- to someone else as a gift in a nice box.

Wednesday, 13 January 2010

Victorian Times

I found out one of the limitations of posting a crafty activity every day,and that is there is not much room for error.  When I was putting today's post together, which took a fair amount of preparation, I realised that the glue I used wasn't necessarily the best for the job.  You'll see what I mean...

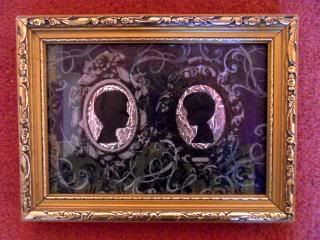
Today's activity was a small (5x7") framed victorian silhouette picture of my children:


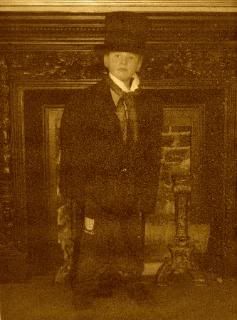
For this activity I was inspired by some Victorian pictures that my children had done at a Salt Museum a while ago and which take pride of place on our mantlepiece:


They really took their role (of not smiling) seriously!

Our family house is Victorian so I thought it would be nice to have some pictures done in the style of days gone by to compliment the others.

When I was in our brand new Paperchase shop recently I spotted some lovely olde mirror frames on some wrapping paper, and they were in the sale too!  They also had some baroque style tissue paper which is what I used for the background.

I took pictures of the boys today against a bright window (it was brighter than usual because of the snow) sideways on and then used my photo editing program to darken them completely.

I cut the printed images out and stuck them down onto the shiny mirrored frames.  The frames were stuck onto the tissue paper and the tissue paper onto card.  When I had done that it made it all too dark so I used one of my favourite stamps (a swirl!) and some white stazon ink and 'framed' the frames.  The reason I had a problem was the glue I used, PVA, made everything a little lumpy, I should have used a 'flatter finish' glue.


I also could do with a silver coloured ornate frame rather than a gold, so I may do this project again some day and correct these minor errors.  Still pleased with the general result though and I'm sure the children's grandparents will love it!
Related Posts with Thumbnails