Welcome to my creative online journal

Thursday, 21 January 2010

Panoramic Views

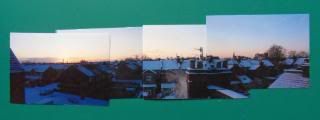
Today's craft should have been an easy one -  just print out a series of 4 photos and stick them together as one long panoramic view.  I say, should have been easy, but my printer ihas been really temperamental recently and keeps jamming!  Grrr! Technology!  Eventually it'll work for one picture and then frankly refuse to do the next!

Anyway, this is what I eventually came up with:


The landscape has turned out a bit too dark, it was taken when it had been snowng and camera's have difficulties with exposing correctly when there's snow.  The sky was a beautiful colour though and the moon was still visible - at 8 o'clock in the morning.   (I know its not technically great either, very higgledy piggledy, but its only for showing to my husband who's in China at the moment, in the warm, where there's been no snow)  For a better picture I should  have used a tripod really!...

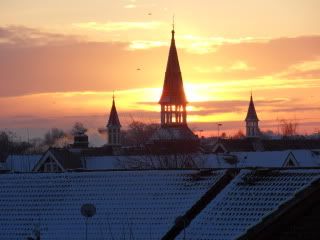
This single one was lovely, the sun and sky behind my children's Victorian school bell tower:


(All pictures taken from my attic room window)

Wednesday, 20 January 2010

Aaah, It's Valentines Day...soon!

I've decided that I waffle too much on these posts, nobody has said anything (thankfully!) but I think I can guess what you're thinking!

So, from now on I'll do less chat (hooray!) and more of  showing you what I've made.

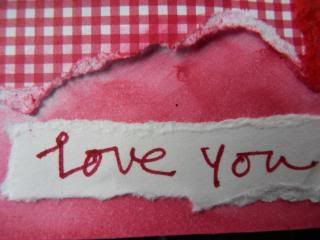
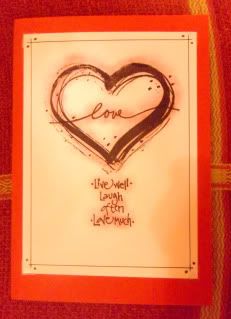
Today was another card, it a Valentine's Day card:

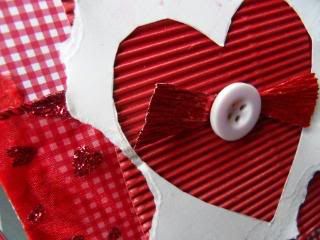
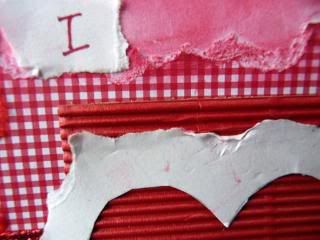
For this I've used a beautiful glittered heart ribbon that was from Ikea, (a while ago), red corrugated paper  and a little torn mulberry paper for the sides. I also used some plain and patterned paper and the cutout heart was done using a heart template.

Detailed photos: 


Also on the romantic theme, I  made this card recently for my brother-in-law for his 1sr Anniversary


using a large rubber stamp, 2 clear stamps and red chalk

Tuesday, 19 January 2010

Robot Card

Remind me NEVER EVER to buy another envelope ever in my life again!  Think it could be something to do with the stationary obsession (!) but when I was in the attic I found a box with what looked like some envelopes in - I brought it down and found it was stuffed to the brim with what seems to be every size of envelope ever invented!  I am completely sorted to make LOADS of cards for every occasion this year, even the ones I don't normally do, like Easter. People that I hardly know will be getting homemade cards from me this year! lol. 

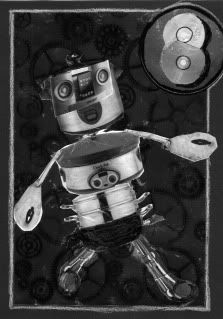
I made a robot card today out of the Tesco home shopping catalogue!  I used pictures of pots & pans for the head and body, a stereo deck for the eyes and nose, electric knives for the arms and shower attachments for the legs. I stamped the background with a gears stamp:


It's for a young boy relative who will be 8 at the end of the month.  I made this one a few months ago :


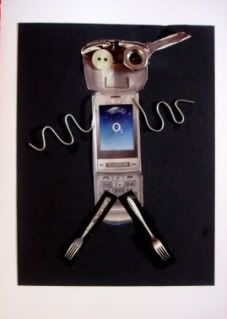
(On this one I used real buttons and a nut for the eyes, a staple for the mouth and paperclip springs for the arms).

Now, which envelope shall I use..?

Monday, 18 January 2010

To Do Today Lists

Ever since I was very little I have had a love affair with stationery!  Maybe I shouldn't be confessing this in such a public place, but  there was nothing I used to love more than popping into office supply shops when on shopping expeditions with my mother.  (I should point out children's clothes weren't the great big fashion items they are now, but then you'll start guessing at my age now! lol )  Before I get into a bigger hole than I am already I'll get to the point of today's craft.

When I worked in an office I used to be in charge of ordering the stationery (swoon!) and one day decided to order a packet of 6x 'Things to Do' Post-It-Notes for myself (I paid for them, honest!) Anyway, when they came they were something like 6 packets of 6!  With LOADS of pages in each so now, about 10 years later, I'm still working my way through them!  (OK, they got forgotten and put in the attic because the design was a little, lets say dull):


So, today I came across them and thought we could do with some 'Things to Do' notes, lets see if I can jazz them up a bit.  I have to say I did ALL the modifications on wonderful Picnik (see previous posts) including all the doodles, but by my reckoning computer stuff can still count as 'Craft' (loosely!).

I made this one for each of my boys (changed the name obviously):


....and this rather whacky one for myself:

I will print them out on A5 or A4 and laminate them, so that definately counts as a craft - and as you can see my first priority is to Craft and Blog, never mind the ironing, the washing up or the vacuuming, as long as the crafting and blogging is done!

Sunday, 17 January 2010

Starstruck scrapbooking page

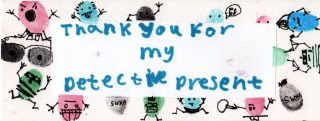
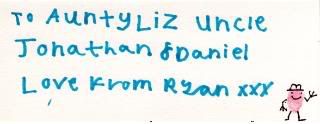
First of all, I think I should show you the card that Ryan made using the fingerprint idea we were doing yesterday:


Older children should do their own thank you cards really, however tempting it is for us crafty mums to take over! lol  (Don't mention the one I did a few days ago!)

Moving swiftly on....

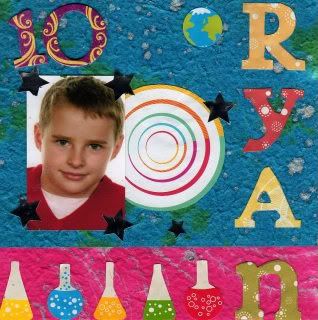
Today I made a mini-scrapbook page for framing.  I picked up a cheap square frame in a charity shop that said it was for putting a 7" single record (remember them??) on display.  I tried putting a single in ('Two Little Boys' - and I was going to put pictures round the side of my 'two little boys' but the frame was too small!)  so I thought I'd  make a display scrapbooking page instead.  I've never done a display one before but that didn't stop me! 

As my boy Ryan was going to bed tonight he looked out the window and called to me to take a photo of the 'Orion' star constellation which was really clear in the sky tonight.  This is what gave me the idea to make this page about him, Ryan that is, being 10.  He loves science, astronomy and making homemade potions in test tubes so I had a good theme to work on. 

It was simply a matter of finding a nice photo of him, rummaging through the bits and bobs of my crafting stash and a good children's science book (Usborne's) and the page was made!:


If only all scrapbooking pages were this easy!...

PS.  Oh yeah, I also did this too in Picnik! :-)

Think I'll print it out and put sparkly gems on it, maybe make it into an avatar...?

Saturday, 16 January 2010

Fingerprint fun

Some days it is difficult to fit in a craft activity, when you are flitting about here, there and everywhere.  My husband is working away in China at the moment so I am spending all the daylight hours with the boys - apart from when they are at school, of course. 

It means that the craft activity I did today was done with the boys, a thank you card for a birthday present. 

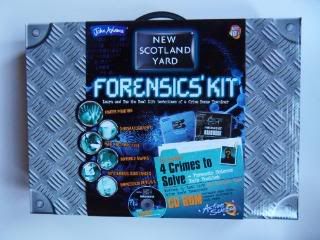
The present, which looks exciting but is not opened yet was this:

A 'Forensic Science Kit' - cool, eh?

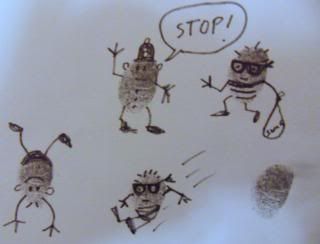
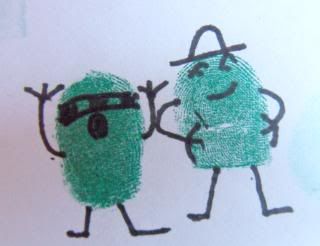
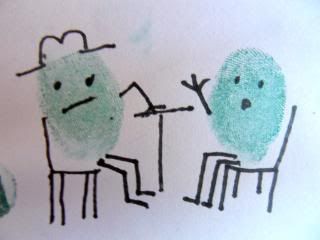
So, to thank my sister, the boy's aunt, that sent this present I thought we should send an appropriate thank you card back.  So far, we have only had chance to practice what we are going to do but had great fun in the process - making fingerprint people using just our (coloured ink) fingerprints and a fine black ink pen

(My drawings)


(Ryan's drawings)

A good idea huh?  (Whenever possible) match your thank you card to the present received.

Friday, 15 January 2010

Distressed Scrapbooking

Today's project isn't a finished project, it is a new technique that I learnt whilst blog-hopping today.  This technique which combines stamping with distressing card, came from an amazing scrapbooking blog I came across today from someone who has only been doing scrapbooking for 2 years.  Her work is incredibly creative and this is the kind of scrapbooking I would like to do one day.

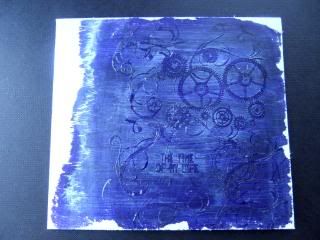
This is the blog - with a video tutorial of how to do the technique (scroll down) and this is the example I made using the technique:


Basically what you do is paint onto the card (or chipboard) with a dark coloured acrylic paint and wait for it to dry.  When it is dry you stamp onto it with embossing ink and sprinkle over it with clear embossing powder, clear off the excess and heat set it.  Then you paint over it all with a light coloured acrylic paint.  After a few seconds, you wipe it over in circular motions with a baby wipe or damp cloth, which reveals the stamped image.  I love distressing effects so I'm pleased to find another one to use. I also distressed the edges of mine too.

It could be used on a card or a scrapbooking page or simply framed as it is and put on the wall or mantlepiece.  It would also look great as a background.

Thanks again to Yatie Tajudin of Malaysia, the fab blogger of 'A Scrapping we will go' (See link in My Blog List, bottom right)

Thursday, 14 January 2010

Personalised pens

On the crafty forums of  MSE (moneysavingexpert.com) we strive to find gifts and crafts that don't cost us too much money, and obviously making our own handmade gifts is a good way of achieving this.  The crafters amongt us also like to source craft supplies that also don't cost us too much either so we are always on the look out for sales and bargains which we like to tell each other about!  (Come and join us on the 'Moneysaving Special Occassions Board' and swap some of your crafty ideas, its very friendly!)

Today's activity uses something I paid very little for, it is a 'Personalised Pen'.  I'll be honest, I had to make something very quick and easy today because we had visitors.
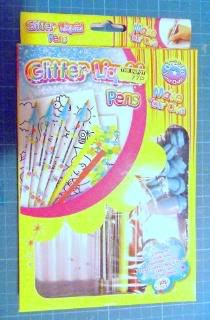
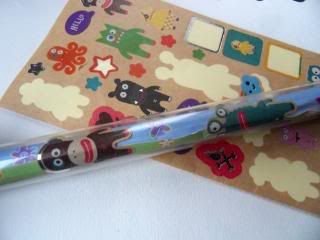
In our local cheap shop called 'The Depot' they had in the children's craft section, some  'Make your own Glitter Liquid Pens':
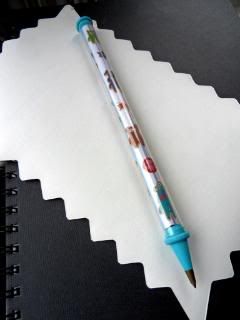
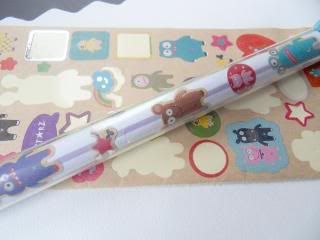
What you are meant to do with them is to put glitter, sequins and water (!!) into the plastic tube of the pen and close it up.  (I did actually try one of them for research purposes and it came to no surprise to me that it leaked!) I can't imagine these working in the hands of little ones, as I could see glitter and water going  everywhere!  Not such a good idea, but then for 99p for four what can you expect?  Actually, I didn't expect the biro part of them to work at all and was pleasantly surprised to find it did!  Which is why I used them for my project.  I found some decorative paper and, covered it with some very small stickers (an old range called  'Monstars,' from Paperchase), rolled the paper around the inside of the tube, put the top and bottom on and there you have it, a BIG personalised biro (they are 9" long).  You never know, it might even encourage my boys to write more and that is a BIG task too! lol.


You could also make a theme with them, valentines, easter, or match them up with notebooks, files etc.

Wednesday, 13 January 2010

Victorian Times

I found out one of the limitations of posting a crafty activity every day,and that is there is not much room for error.  When I was putting today's post together, which took a fair amount of preparation, I realised that the glue I used wasn't necessarily the best for the job.  You'll see what I mean...

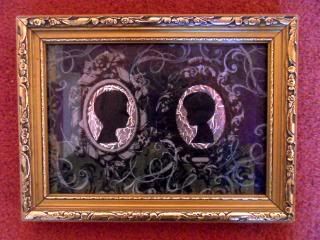
Today's activity was a small (5x7") framed victorian silhouette picture of my children:


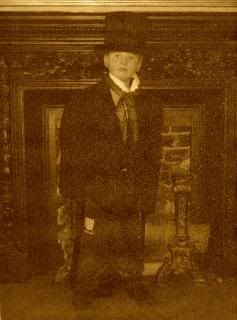
For this activity I was inspired by some Victorian pictures that my children had done at a Salt Museum a while ago and which take pride of place on our mantlepiece:


They really took their role (of not smiling) seriously!

Our family house is Victorian so I thought it would be nice to have some pictures done in the style of days gone by to compliment the others.

When I was in our brand new Paperchase shop recently I spotted some lovely olde mirror frames on some wrapping paper, and they were in the sale too!  They also had some baroque style tissue paper which is what I used for the background.

I took pictures of the boys today against a bright window (it was brighter than usual because of the snow) sideways on and then used my photo editing program to darken them completely.

I cut the printed images out and stuck them down onto the shiny mirrored frames.  The frames were stuck onto the tissue paper and the tissue paper onto card.  When I had done that it made it all too dark so I used one of my favourite stamps (a swirl!) and some white stazon ink and 'framed' the frames.  The reason I had a problem was the glue I used, PVA, made everything a little lumpy, I should have used a 'flatter finish' glue.


I also could do with a silver coloured ornate frame rather than a gold, so I may do this project again some day and correct these minor errors.  Still pleased with the general result though and I'm sure the children's grandparents will love it!
Tuesday, 12 January 2010

Oooh Pretty Colours!

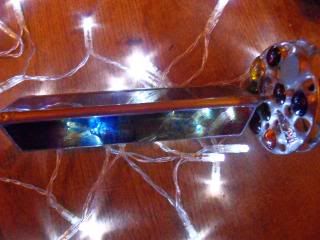
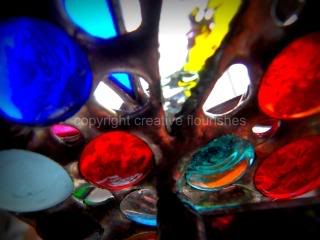
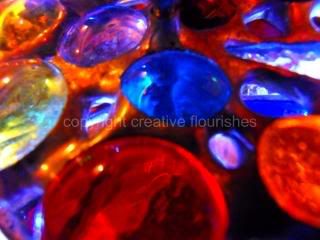
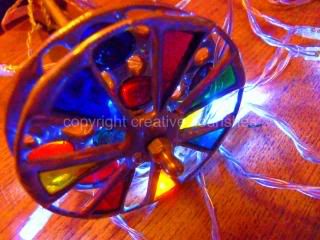
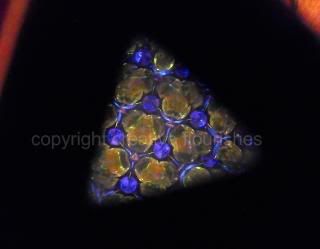
For my son's birthday yesterday one of the gifts I got for me him was this lovely handmade glass kaleidoscope:

It has a prism to hold that has multicoloured glass around the sides and two discs at the end that you rotate.  It really is a lovely piece and so much more special than the toy versions.

Today's project is unashamedly photography again.  To get the real look of stained glass I used some battery operated white lights behind the kaleidoscope and just a touch of Picnik (see previous posts for details).

This is not really a project you can copy (unless you have one of these of course!) but I hope you can appreciate the artistic photos:


Related Posts with Thumbnails