Welcome to my creative online journal

Showing posts with label embossing. Show all posts

Tuesday, 1 June 2010

Bargains and Christmas Card

I haven't had a shopping post for ages, and I know how much you we all love shopping! :-)   I have got some great charity shop bargains to show you and one I got today was a MEGABARGAIN!

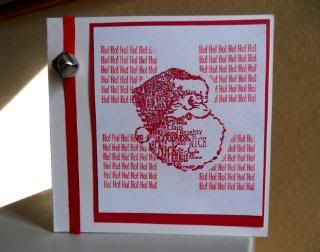
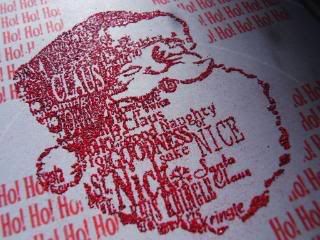
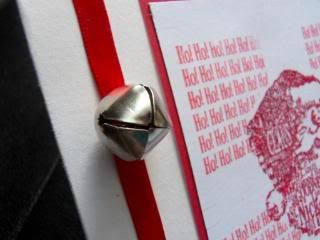
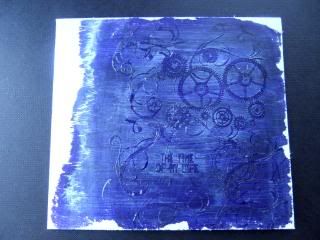
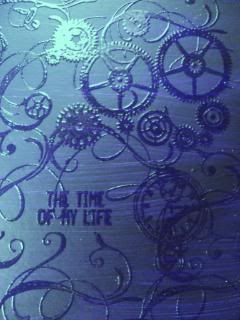
But first of all, I'll have a quick show of what I did tonight, I made Christmas (yes, I know its JUNE!) Card Number 4:
I decided that I won't be making cards with  layers because the Post Office charge you more  (What a silly rule).  Anyway, this was a simple embossed card that used Seafoam White embossing powder which looks very much like snow.  I used a Versamark pen on the snowflakes and on the writing.

Onto the bargains and this was one of my finds:
Another of those magnetic clipboardy things with bird magnets...  £2
 
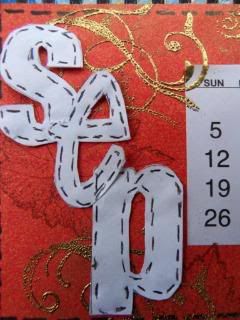
Massive box of 3d letter stickers (all letters are there caps & small) £3
These weren't charity shop, but all on sale at Craft-ed. These are the type of cartoons I would do if I was going to bring out a range... reckon they will look good in my kid's scrapbooks.

...and this was my megabargain:
A LOVELY tin with all these paints, pallete and brushes, £8
The tin itself is gorgeous:
(and those borders are punched out of the tin!)

Ooh I do love getting a good bargain!

Back to normal tomorow as my children are back from their grandparents. I'd almost got used to my own company...

See you tomorow,
qwiksave


Sunday, 28 February 2010

Jingle Bells

For today's task I have been making another of my Christmas cards.  Some cards I make I will use layers and sketches found on the net but this one was designed to be flat:
First of all I stamped and cut out the santa onto a post it note to use as a mask then stamped him onto the white card.  I then embossed him with red glitter embossing powder.  I put the cut-out mask in place (directly over the embossed santa) and stamped the 'Ho Ho Ho' background. (This proved to be much trickier than I thought, because it was a wooden stamp, not clear.  Note to self, only try this again using CLEAR stamps!)

(Santa stamp from Inkadinkadoo collection)

I stuck it onto red card, which I then mounted onto the white background card.  I finished off with a working bell (he, he) attached to a ribbon.

Jingle, Jingle!

qwiksave x

Monday, 25 January 2010

Rich Autumn Gold

Y'know some days aren't going to go to plan, like when you wake up in the morning and discover to your horror its 10 minutes to 9 and your kids should have been in school 10 minutes ago!!  Yep, that is exactly what happened to me this morning, and what can I say but ooops the embarrassment!...  Lesson learnt, keep that mobile under your pillow and set it on vibrate, foolproof! (er, maybe!)

Anyway, other things didn't go to plan either, including my plan to do lots of crafting today.  I only managed to get one more page of the calendar done, the page for September and October:


I think its one of my most favourite pages out of the whole calendar, could it be because it has swirls on it?  Probably. First of all I stuck the orange paper down, then rubber stamped in brown a tree leaf on it (yes I know I said no rabbits for April but leaves are more swish, OK?  lol)  I then got out my swirly stamps and  heat embossed them with a lovely rich gold (ideally I should have rubber stamped the swirls and embossed them before sticking the page into the book because the spirals got in the way but then it was that kind of day!)  I finished off with sticking the letters down with my glue dots, which have now RUN OUT!  How will I be able to complete the last page tomorrow? Panic! :-o  Are there any shops open at 5 minutes to 12 on a Monday night that sell glue dots?...

Friday, 15 January 2010

Distressed Scrapbooking

Today's project isn't a finished project, it is a new technique that I learnt whilst blog-hopping today.  This technique which combines stamping with distressing card, came from an amazing scrapbooking blog I came across today from someone who has only been doing scrapbooking for 2 years.  Her work is incredibly creative and this is the kind of scrapbooking I would like to do one day.

This is the blog - with a video tutorial of how to do the technique (scroll down) and this is the example I made using the technique:


Basically what you do is paint onto the card (or chipboard) with a dark coloured acrylic paint and wait for it to dry.  When it is dry you stamp onto it with embossing ink and sprinkle over it with clear embossing powder, clear off the excess and heat set it.  Then you paint over it all with a light coloured acrylic paint.  After a few seconds, you wipe it over in circular motions with a baby wipe or damp cloth, which reveals the stamped image.  I love distressing effects so I'm pleased to find another one to use. I also distressed the edges of mine too.

It could be used on a card or a scrapbooking page or simply framed as it is and put on the wall or mantlepiece.  It would also look great as a background.

Thanks again to Yatie Tajudin of Malaysia, the fab blogger of 'A Scrapping we will go' (See link in My Blog List, bottom right)
Related Posts with Thumbnails