Welcome to my creative online journal

Showing posts with label buttons. Show all posts

Wednesday, 1 December 2010

Recycled Christmas Card

Tonight I've been rummaging around in my collection of old buttons and produced a 'green' Christmas card:
I've stuck* the button christmas tree onto some corragated cardboard from an old box and then onto some mulberry paper.
I even used a bit of newspaper saying 'recycling' as the bucket.

(*will stick it down soon! :P)

To tear around the mulberry paper I used a wet paintbrush around the edge.

Just need to do some finishing touches to it and then sometime tomorrow I'll show you the finished card.

Thanks for looking and any comments,
See you tomorrow,
qwiksave

Thursday, 2 September 2010

Button Heart

Today's craft was unusual for me - jewellery making, well, kind of anyway.  It was a heart made of buttons:
I had got a book out of the library called 'The Homemade Home' - 50 Thrifty and Chic Handmade Projects by Sania Pell and I was looking in it for something to make.  As I was going through I kept finding sewing projects so I was thinking, 'no, no, no...no..' and then I spotted this.  It's jewellery making but the kind thats so easy peasy that even I could do it!
You just cut off a length of wire and thread the buttons onto it.  Tie or twist knots at both ends of the wire and bend it into the heart shape.  To make a hanger tie an additional piece of wire to the back.  
I've done this craft late at night thinking I've picked out all the white buttons, (the top picture makes them look grey which they are not and this picture above is a Picnik cheat!) I'll look at it in the daylight tomorrow and they'll be pale beige, pink, cream..

Never mind, it looks the part! :-)

Thanks for looking and for any comments you may leave,
See you tomorrow,
qwiksave

Tuesday, 16 March 2010

Hippy Birthday

I managed to stop my sort out of the attic space long enough to make a birthday card today:
It's for a friend who is in her 40's so I think she will appreciate the retro look of this.
Here are some close ups:
The buttons and the 'Happy Birthday' have been put on with stickydots
..and I made the background out of Tesco napkins - just £1 for a pack of 20.

I stuck a napkin onto card with a pva & water mix and then because I was impatient, dried it with my heat gun.  I added random splodges of inks and then inked the edges with a red ink pad.  After that I stuck another napkin down onto the background card with spray glue and cut around the edge to fit. Finally I added the buttons with matching ribbons and the stamped and Glossy Accented 'Happy Birthday' to the main image and stuck that down onto the card with some more spray glue.  As a final touch I distressed the whole card with scissors and inked the edges too.

What a feast of colour and texture! Hope my friend enjoys it as much as I do!

qwiksave x

(This was a modified post from yesterday)

Monday, 1 February 2010

Valentine's Trial Run!

I've never made one of these treat bags before but often see them on other people's blogs and I quite fancied a go. 

This was my trial bag:


I say 'trial' because I need to check its all going to work for my proper one!  lol  (trying also means I get to rip it all open and scoff the contents!) 

It's a bit of a poor man's treat bag because I haven't got a die cut for the header so I had to  draw and cut aroud this:
It was a charity shop frame bought specifically so I could draw around its outisde edge!

I hand drew all the stitching and lettering on the labels and flower and stuck a red button (shank removed) onto the centre of the flower. Wonderful Glossy Accents were added to the hearts.

Finally, I used a bag sealer to keep the contents fresh and used my stapler to add the bag to the label:

SNAAAP!!!

Saturday, 9 January 2010

Stamping Hints & Tips

I have many crafting books and one of them I was looking at recently gave me some different ideas that I hadn't thought of for rubber stamping. Here are some of the ideas for all you stampers out there!:

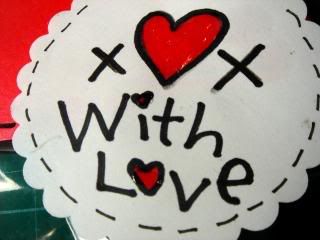
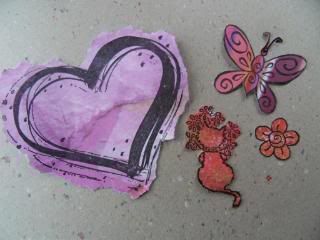
* Stamp butterfly, heart and animal stamps onto patterned paper and cut out (Great if you're not so good at colouring in!):


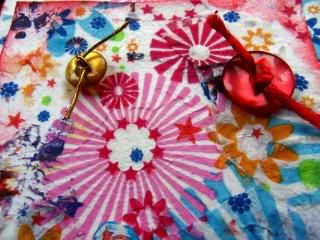
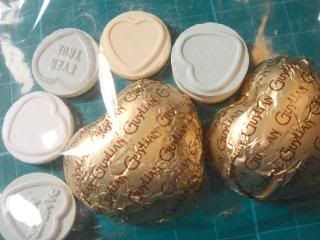
* Stamp onto buttons with small image stamps. I had a go at this today with these clock and star designs:

(These could be used as embellishments maybe with some ribbon for scrapbooking)

* You can stamp onto fabrics (use PVA glue to stop fraying) or Felt to put your images on cards.

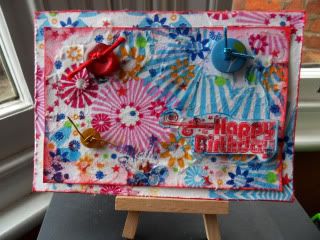
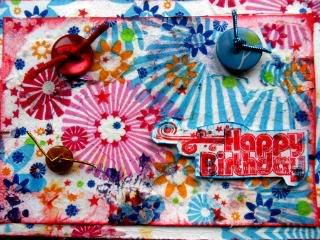
* Another one I tried today, enlarging your stamped images using your scanner and computer:


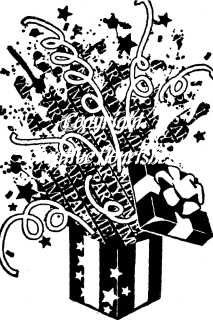
(Image came from a 'Inkadinkado' birthday stamp set)

It is my older son's 10th birthday on Monday (WOW!) and we have a family tradition of putting posters all around the house of the birthday boy or girl. Some of the posters have pictures of the birthday person when they were younger and some are just general 'Happy Birthday' posters like this.

I will need to do some more birthday preparations tomorrow, hope the weather improves!

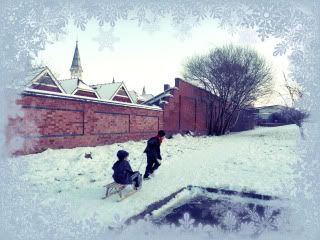
This picture is of my boys sledging yesterday (bringing a bit of colour to their cheeks!)

Related Posts with Thumbnails